Frequently Asked Questions
As questions arise about the new version of OrganAssist, I will post the responses here.
You may also find it useful to view some of the short videos on the videos page.
How do I install OrganAssist?
You can download the single Microsoft Installer file from this website. When you download it, depending on the browser you are using, you may need to navigate several questions. This is due to the need to be careful about what software you install on your computer. Sometimes you need to click on the More Info button or the 3 dots to get the option to save and then run the file
What do I do about the Windows SmartScreen warning?
If you click on the More Info link and then click on Run Anyway – OrganAssist should install correctly.
I get an error message “The System Administrator has set policies to prevent this installation”
Sometimes new computers have Windows installed in what is known as S Mode. This means that, in an attempt to prevent rogue software installing, you can ONLY install software, including OrganAssist, from the Microsoft Store.
Will OrganAssist be available for macOS?
Unfortunately, No – OrganAssist is only available for Windows running on x86 processors (not ARM).
What equipment do I need to use OrganAssist?
You will need a Windows computer and a USB to MIDI cable. Due to the complexity and number of MIDI messages some organs use, the cheaper USB to MIDI adaptors are often unreliable. It is much better to spend a little more money for something that is reliable.
When you look online you will see many products that look like these:
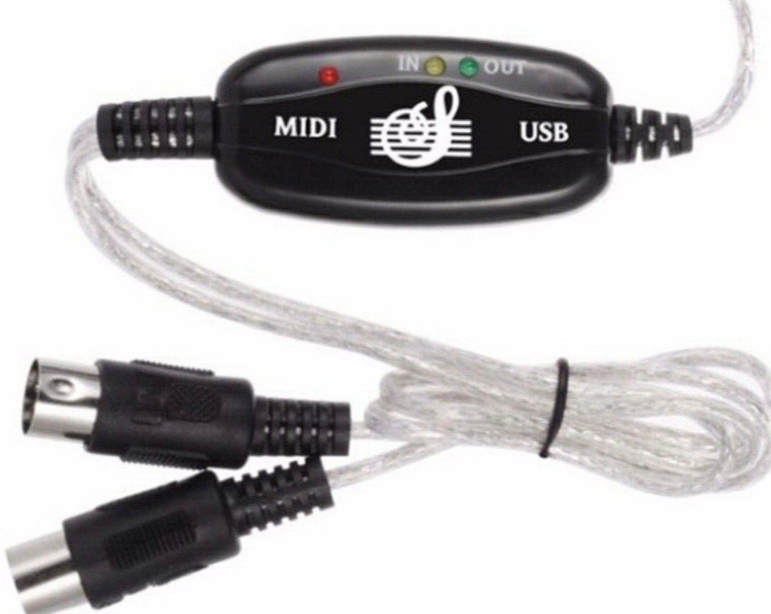

Regardless of the “manufacturer” name, in my experience, these devices are NOT reliable.
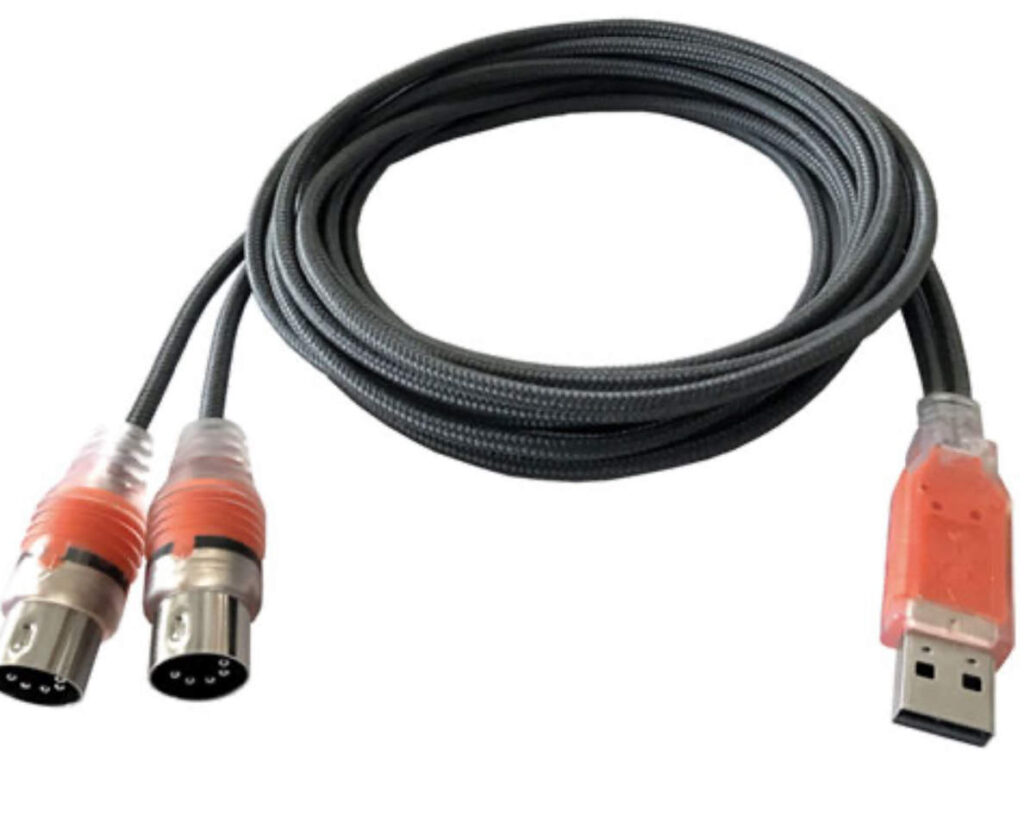
I would recommend you purchase an adaptor made by either ESI or Roland.
The ESI MidiMate Ex, which has distinctive orange highlights, is available online for approximately $45 (cheaper in the UK)
The Roland UM-ONE mk2 is another reliable product for a similar price.
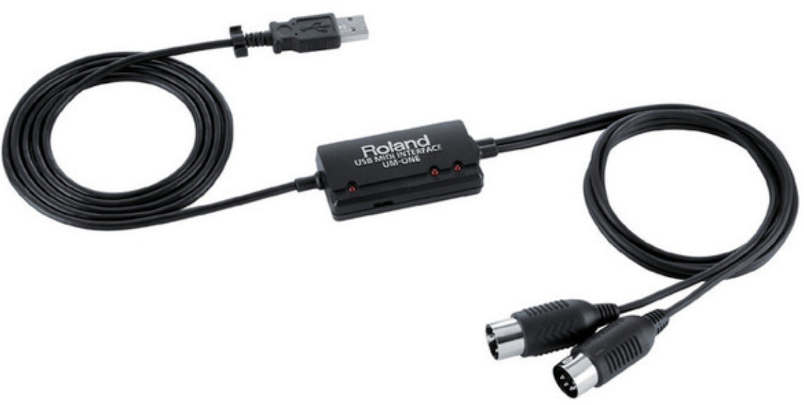
There are other more expensive options but these are reliable products for a reasonable price.
How do I connect the cables?
The MIDI technical standard defines that the output from one device goes to the input of the next. This means that connecting the cables to the organ is not obvious. The cable connector marked OUT (from the computer) must be plugged into the IN socket of the organ. The cable connector marked IN (to the computer) must be plugged into the OUT socket on the organ. In the case of the ESI Midimate Ex the connectors are labelled (in clear plastic that is difficult to read) 1 and 2. You can plug these in either way round and then select which you wish to use for input and output in OrganAssist. The USB plug goes into the computer and should be recognised regardless of your hardware or version of Windows.
How do I configure the MIDI connections in OrganAssist?
In the PC MIDI Setup window you can select one or more MIDI inputs and one Output. In the case of most USB MIDI hardware there will be one entry in each list so you choose that. With the ESI Midimate the connector number 1 (for either input or output) is listed as Midimate Ex. The connector 2 is prefixed with MIDIIN2 or MIDIOUT2 in the list. There is no harm in making the wrong selection. If it does not work, try changing your selection.
How do I test that the organ and MIDI cables are working correctly?
In OrganAssist, you can load ANY organ layout and then go to the PC MIDI Setup window. In this window you choose the MIDI input and output connections. It also has a button labelled Record. This bypasses all logic in OrganAssist and just records the exact MIDI messages received from the organ. When you press Stop, you can then press the button labelled Play, to send exactly these MIDI message back to the organ. This is exactly the same as most MIDI software. If this does not work correctly then there is likely an issue with either the cable or the organ. Some organs require you to switch on MIDI output.
Are Allen organs supported by OrganAssist version 3.3?
This is a complex subject and so I have a dedicated webpage about this. Click here to read about Allen organs.
How do I edit a track created in other sequencing software?
In the Library window go to File Import General MIDI File. During the import process this will display information about the track being imported and allow you to assign specific MIDI channels to specific keyboards. This should open the Edit Track window showing a track of notes only (unless this was created by OrganAssist using Export General MIDI). Set the stops you require on the organ and then click Play. OrganAssist will add these stops at the start of the track and you can change the registration during playback to record other changes. You can then use Export as MIDI for current organ to create a MIDI file suitable for playback by other software.
How do I change the registration at the start of a track?
If the track has NO stop changes at all then, in the Edit Track window you can just add stops (either on the instrument or the organ window) before you click Play. When you click Stop, these stops are automatically included at the start of the track. If the track already has some stops then, in the Edit Track window, press the Pause button. OrganAssist will position the track at the start of the first note and pause so that you can add/change stops. You can then either press Stop to insert these changes into the track immediately or Play to continue playback for futher editing. Alternatively you can right-click, in the top area of the Edit Track window, to insert a stop change and then drag it to the start of the track.